You’re hanging laundry, or rearranging a shelf, and you notice it: a thin gap at a seam where two strips of wallpaper meet, or a bottom corner curling away from the wall like it’s trying to make a break for it. This is one of the most common wallpaper problems homeowners face, and the good news is it’s usually fixable without stripping the whole wall and starting over. A seam is simply the vertical line where two panels of wallpaper butt up against each other; when that joint loses its bond, you get a lifting edge. The fix is a seam repair adhesive — a specialized glue formulated to re-bond wallpaper to drywall or plaster without staining, bleeding through the paper face, or creating a visible ridge. This guide walks you through which products actually work, why some popular options fail on specific substrates, and how to match the adhesive to the wallpaper type you’re actually dealing with.
| EDITOR'S PICK[Zinsser SureGrip Universal Bord…](https://www.amazon.com/dp/B00176O08O?tag=greenflower20-20) | Mid-tier[Red Devil 0878 Wallpaper Seam R…](https://www.amazon.com/dp/B000BQP24M?tag=greenflower20-20) | Budget pickRoman Seam Repair Adhesive - Se… | |
|---|---|---|---|
| Size | 16 oz | 5 oz | 3 oz |
| Applicator | — | — | ✓ |
| Color | White | Clear | White |
| Type | Border adhesive | Seam repair | Seam repair |
| Pack size | Pack of 1 | 1 - Pack | — |
| Price | $18.22 | $9.68 | $6.98 |
| See on Amazon → | See on Amazon → | See on Amazon → |
Why Generic Glue Almost Always Makes It Worse
Before you reach for household white glue or a general-purpose craft adhesive, here’s the problem: most wallpaper substrates — especially modern non-woven (a synthetic paper that doesn’t expand when wet, unlike traditional pulp paper) and fabric-backed vinyl — are dimensionally sensitive. White glue dries rigid, creating a hard joint that telegraphs through the paper face as a visible ridge or bubble. It also tends to over-wet the substrate, causing it to warp or buckle before it cures.
The Wallcovering Association’s Installation & Care Technical Bulletins are direct on this point: seam repair requires a adhesive with controlled open time (the window before it sets), low moisture content for non-woven substrates, and enough flexibility in the dried film to move with seasonal humidity changes. That rules out most household options immediately.
The category you’re shopping in breaks into three main product families:
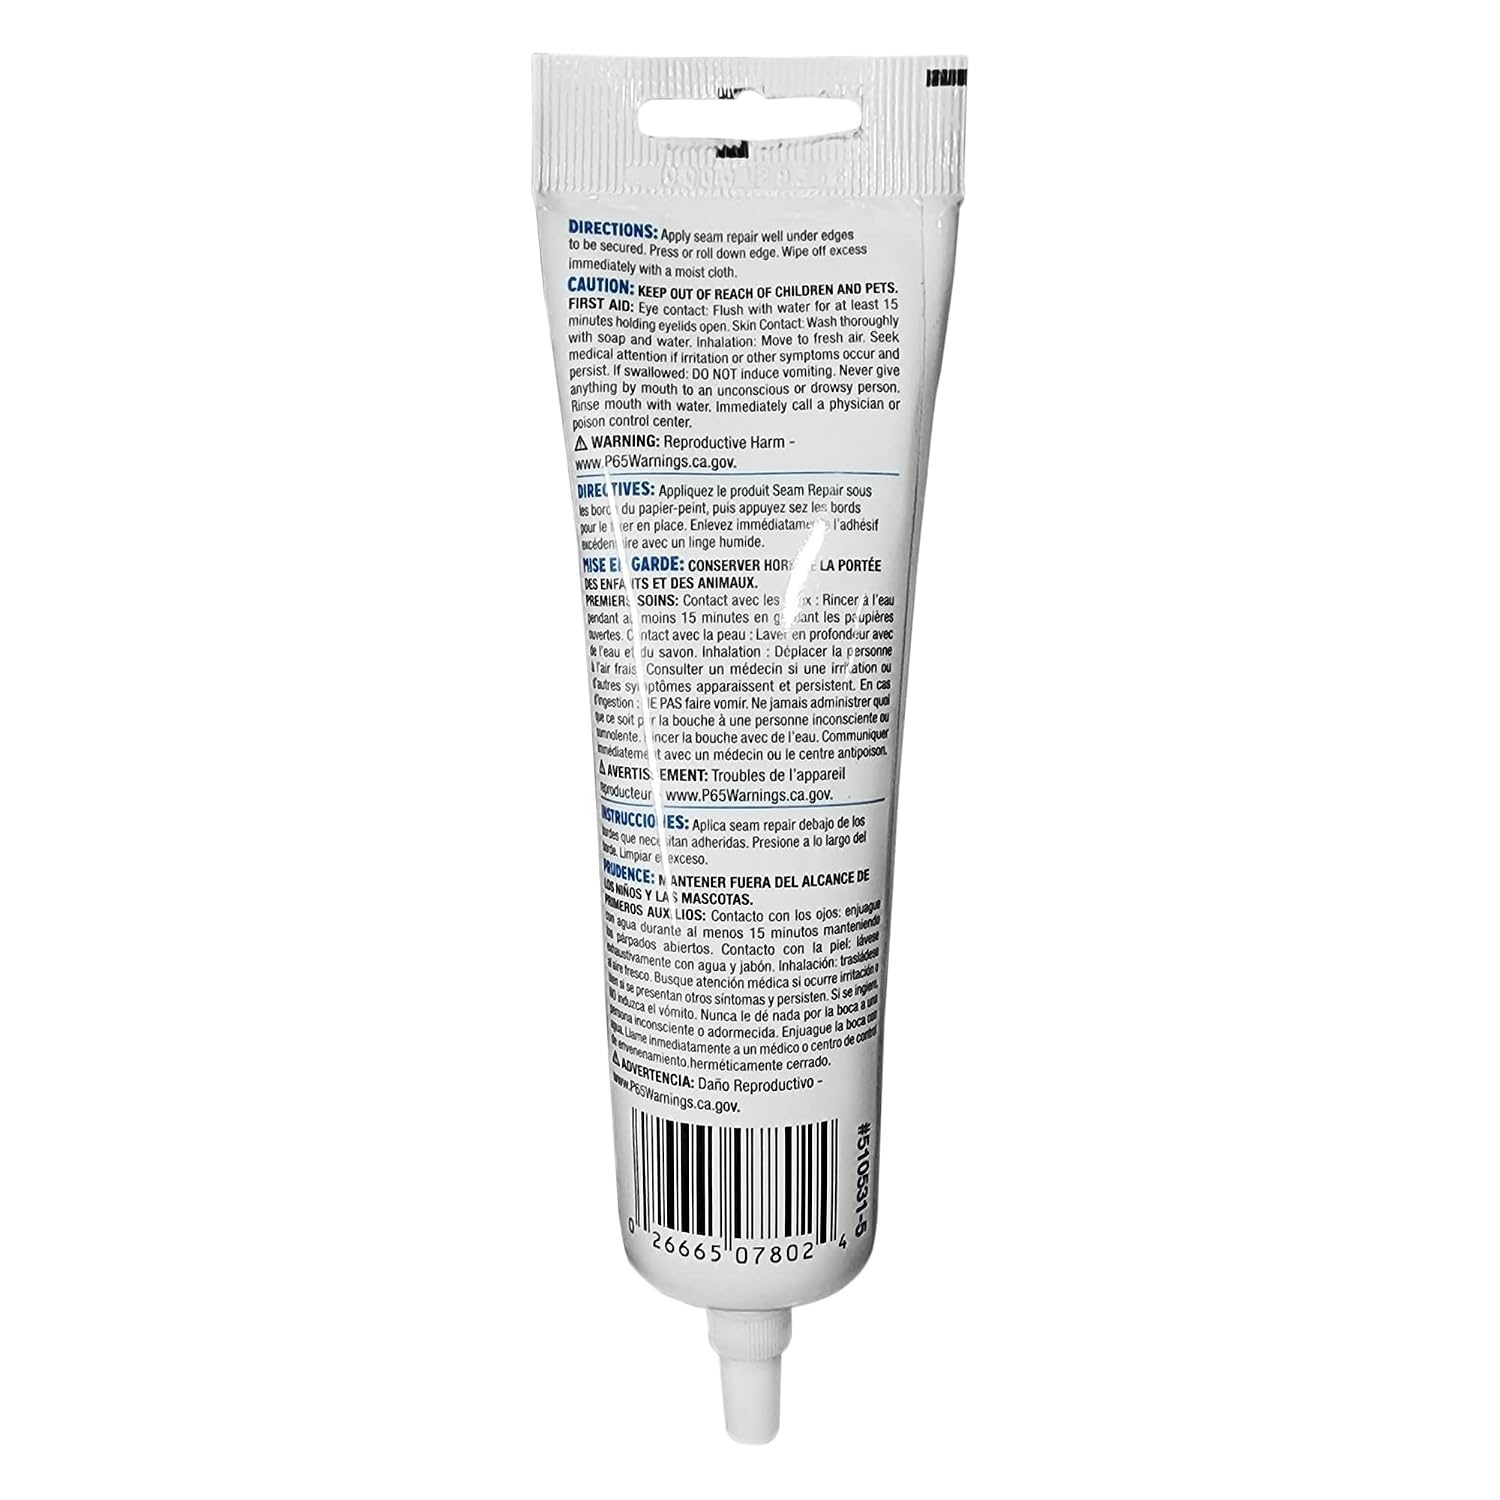
1. Seam repair pastes — thick, brush-on formulas designed specifically for re-bonding lifted edges. Roman Products’ PRO-999 Rx-35 is the most referenced product in this category in professional installer discussions on Houzz and trade forums. Reviewers and installers consistently describe it as the workhorse pick for traditional vinyl and paper-backed wallcovering; it has enough body to fill a slightly gapped seam without telegraphing.
2. Vinyl-to-vinyl adhesives — these are formulated for the specific chemical challenge of bonding plasticized PVC (the material in most commercial-grade Type II and Type III vinyl wallcovering) to itself or to a prepared wall. Standard pastes often don’t adhere well to PVC faces because the plasticizer in the vinyl acts as a release agent. Products like Roman’s GH-99 or National Starch’s specialized vinyl adhesives are formulated with higher resin content to overcome this. Per spec sheets, these carry a higher solids content than standard paste, which is why they grip where regular paste slides.
3. Activator or re-wetting solutions — used when the original paste hasn’t fully failed but has simply dried out at the edge. Brushing a small amount of warm water or a dilute paste solution behind a lifting edge can sometimes reactivate the original adhesive. This works best on traditional pulp-paper wallpaper (the kind that swells when wet) and almost never works on non-woven or vinyl, where the original bond failure is usually mechanical or chemical rather than simply desiccation.
Matching Adhesive to Substrate: The Decision Framework
Getting this right is where practitioners lose money and time when they skip the spec check. Here’s the matrix that actually matters:
By the numbers
| Wallpaper substrate | Recommended adhesive type | Common failure with wrong choice |
|---|---|---|
| Traditional pulp/paper | Re-wetting paste or standard seam repair paste | Over-wetting causes buckling |
| Non-woven (peel-and-stick or paste-the-wall) | Low-moisture seam paste; never excess water | Swelling and telegraphing |
| Paper-backed vinyl | Standard vinyl seam adhesive (mid-resin) | Insufficient grab on vinyl face |
| Fabric-backed vinyl (Type II/III commercial) | High-resin vinyl-to-vinyl adhesive | Bond failure within 30–90 days |
| Peel-and-stick (acrylic adhesive backing) | Specialty pressure-sensitive re-adhesive or manufacturer patch kit | Standard paste won’t bond to acrylic |
The peel-and-stick category deserves special attention because it’s where the most DIY confusion happens. Products from RoomMates and Tempaper use a pressure-sensitive acrylic adhesive — the same technology as removable tape — rather than traditional wallpaper paste. When these lift at corners or seams, standard seam repair paste doesn’t chemically bond to the existing acrylic layer. The repair that actually works, per aggregated owner reviews documented by Apartment Therapy in their rental-wall coverage, is to use a small amount of the same brand’s re-adhesive repositioning spray (if available) or a thin bead of a pressure-sensitive craft adhesive. Press firmly and hold for 60 seconds minimum. This is a cosmetic fix; if peel-and-stick is lifting broadly, the wall prep was the failure point and a full re-hang is the real answer.
Application Mechanics That Actually Matter
Knowing which adhesive is half the battle. The other half is application technique, and this is where most DIY repairs fail even with the right product.
Clean the substrate before you apply anything. Dust, grease, or residual dried paste on the wall face or the back of the lifted paper will prevent adhesion no matter how good your adhesive is. A barely damp cloth wiped inside the gap and allowed to dry for 10–15 minutes is sufficient for most situations. For commercial vinyl in hospitality installs, This Old House’s wallpaper repair guidance recommends a light wipe with isopropyl alcohol on the wall substrate (not the paper face) to degrease without introducing water.
Less is more with paste volume. The instinct when a seam is lifting is to flood it with adhesive. This almost always causes strike-through (when adhesive bleeds through to the paper face, leaving a permanent stain or sheen change). Seam repair pastes like PRO-999 Rx-35 are designed to be applied with a small artist’s brush or a seam repair syringe applicator — a thin, controlled bead on the wall substrate, not the paper back. Work in from the edge toward the center of the gap.
Use a seam roller, not your fingers. A seam roller (a small, hard rubber or plastic roller about 1.5–2 inches wide) applies even pressure along the seam line without stretching or distorting the paper. Fingertip pressure is uneven and tends to leave finger-width ridges. House Beautiful’s wallpaper installation coverage consistently flags the seam roller as one of the most underused tools in the DIY toolkit. Wipe the roller face with a damp cloth as you go — dried paste buildup on the roller will transfer back onto the paper face.
Protect the surface while it cures. Most seam repair pastes reach working strength in 24–48 hours but continue curing for up to 72 hours. During that window, avoid steam (don’t run a humidifier in the room), direct sunlight on the repaired area, and anything that puts lateral stress on the seam. For commercial installs being handed back to a client, the Wallcovering Association technical guidance recommends a 72-hour room-temperature cure before occupancy in high-traffic zones.
When Repair Adhesive Isn’t the Right Answer
There’s a category of seam failure that no adhesive will fix permanently, and recognizing it early saves you from doing the repair twice.
Moisture intrusion from behind the wall. If a seam keeps lifting in the same spot, especially near exterior walls, windows, or bathrooms, the failure is moisture migrating through the substrate — not adhesive failure. Re-gluing will hold for weeks or months before the same seam opens again. The Wallcovering Association’s technical bulletins are explicit: persistent localized seam failure is a diagnostic signal, not just a maintenance item. In a commercial project, this is a deficiency conversation with the GC, not a punch-list seam repair.
Substrate failure — drywall face paper delaminating. If you pull back a lifting seam and the drywall’s paper facing is coming with it, the wall prep was insufficient before original installation. The drywall face wasn’t primed (or primed with the wrong product), and the paste bonded better to the drywall paper than the drywall paper bonded to the gypsum core. This can’t be repaired by re-gluing the wallpaper. The affected area needs to be re-skimmed, properly primed with a wallpaper-specific primer (not standard latex primer), and re-hung.
Tears with missing substrate material. If an edge is torn and there’s actual paper material missing, seam adhesive can’t close the gap cosmetically. This is a patch situation — either sourcing a piece of the original wallpaper (which is why saving offcuts matters) and feathering in a patch with a blade, or accepting the repair as a texture fix rather than an invisible one.
The “If X, Then Y” Decision Rules
If you’re standing in front of a lifted seam right now, here’s how to route the decision:
-
If it’s a peel-and-stick product (RoomMates, Tempaper, or similar) → use a pressure-sensitive re-adhesive or the brand’s own repositioning solution. Standard paste will not hold.
-
If it’s fabric-backed or commercial vinyl (Type II or III) → use a high-resin vinyl-to-vinyl adhesive like those specified by National Starch or Roman’s commercial line. Standard paste will fail within 90 days under normal conditions.
-
If it’s traditional non-woven paste-the-wall paper (most current mid-range and premium wallpapers from Rebel Walls, Photowall, or similar) → use a low-moisture seam paste with a brush, sparingly, and do not re-wet the back of the paper.
-
If the same seam has failed twice → stop repairing and start diagnosing. Moisture intrusion or substrate failure is the real problem, and more adhesive is not the solution.
-
If the paper face is stained from a previous DIY repair → the repair is visible regardless of how well the adhesive now holds. Cosmetically, you’re looking at a patch-and-blend situation, not a seam fix.
Seam repair is one of those skills where the right product and the right technique together get you to an invisible result — but either one alone usually produces a fix that’s obvious from six feet away. Per professional installer discussions aggregated on Houzz, the single most common mistake isn’t the adhesive choice: it’s using too much of it. Thin, controlled, patient application is what separates a repair that disappears from one that announces itself every time light hits the wall at an angle.